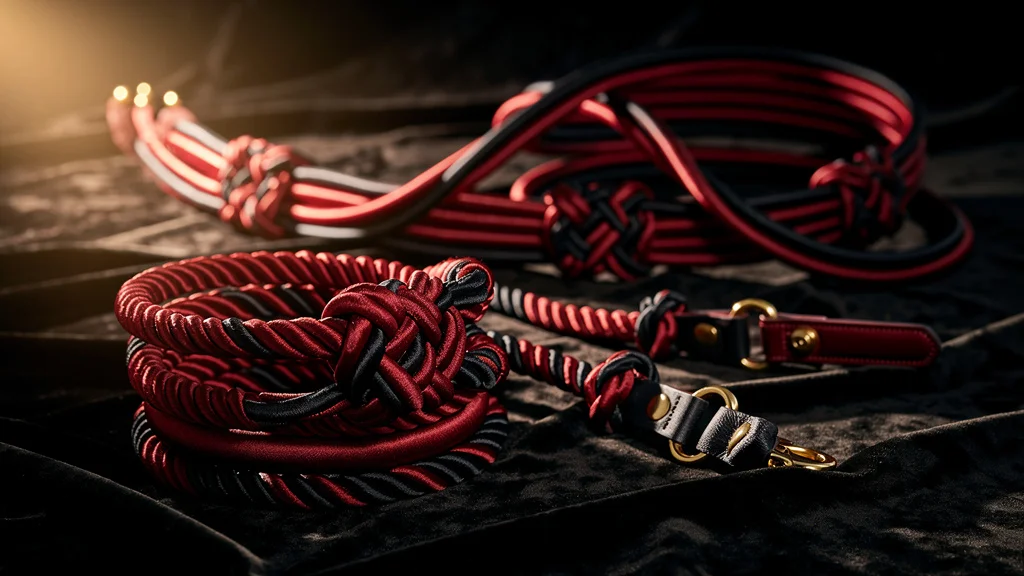
Handcuffs
Using handcuffs or similar restraints for bondage and power exchange.
Read the full Yes/No/Maybe list guide or browse all activities.
Interested in exploring Handcuffs with your partner?
Start Your ChecklistHandcuffs offer an accessible entry point into bondage and power exchange. The distinctive click of cuffs closing, the cold metal against skin, and the undeniable restraint they provide create instant psychological impact—transforming ordinary moments into charged intimate experiences.
Whether you're exploring light restraint for the first time or adding to an established bondage practice, handcuffs provide quick, effective restriction with less technical knowledge than rope. This guide covers everything from choosing safe cuffs to incorporating them meaningfully into your intimate life.
How Handcuffs Work
Restraint cuffs work by encircling wrists (or ankles) and locking in place, preventing the wearer from moving their hands freely. This simple mechanism creates both physical restriction and powerful psychological effects.
Types and Variations
- Metal cuffs: Traditional police-style cuffs provide authentic feel but require careful use to avoid injury
- Padded leather cuffs: Comfortable for extended wear with buckle or locking closures
- Velcro/fabric cuffs: Beginner-friendly with quick release; less restrictive but safer
- Silicone cuffs: Soft, body-safe, often adjustable
- Rope-style cuffs: Pre-tied rope restraints combining rope aesthetics with cuff convenience
- Spreader bars: Cuffs connected by rigid bars keeping limbs apart
Quality Considerations
- Look for smooth edges—no sharp metal that could cut
- Metal cuffs should have working double-locks to prevent accidental tightening
- Multiple keys and quick-release mechanisms add safety
- Padding or liner reduces risk of nerve damage
Safety Considerations
Physical Safety
- Proper fit: Cuffs should be snug but allow finger insertion; overly tight cuffs cause nerve damage
- Double-locking: Metal cuffs should be double-locked immediately after closing to prevent further tightening
- Key accessibility: Always have keys within immediate reach; have backup keys
- Wrist positioning: Cuff the wrist's narrower part, not directly on the wrist bone
- Time limits: Check circulation regularly; don't leave cuffs on for extended periods
- Emergency release: Have backup methods (bolt cutters for metal, scissors for fabric)
Emotional Safety
- Establish safewords before use
- Never leave a cuffed partner unattended
- Check in about comfort regularly
- Plan aftercare for processing the vulnerability of restraint
Red Flags
Remove cuffs immediately if you notice:
- Numbness or tingling in fingers
- Cold or discolored hands
- Pain at the wrist (beyond acceptable sensation)
- Panic or genuine distress
Beginner's Guide
Start with comfortable, adjustable cuffs rather than metal handcuffs. Fabric or padded leather options provide a safer learning experience.
First experience: Begin with hands in front, loosely cuffed, with keys readily available. Focus on the sensation and power dynamic rather than elaborate scenarios.
Build gradually: As comfort grows, explore hands behind back, attachment to furniture, or combining with other activities. Each step should feel like a natural progression.
Communication focus: During early experiences, prioritize verbal check-ins. Learn to read your partner's responses to restraint.
Discussing with Your Partner
Handcuffs often feel less intimidating than rope, making them an easier conversation starter about bondage interests. Frame your interest positively and ask about your partner's thoughts on trying restraint.
Discuss who would wear them, for how long, and in what contexts. Address any concerns about safety or comfort directly.
Frequently Asked Questions
Are real police handcuffs safe for play?
They can be, but require knowledge and caution. Always use the double-lock feature, never hang body weight from them, keep keys accessible, and watch carefully for circulation issues. Padded alternatives are generally safer.
What if we lose the key?
Keep multiple keys in different locations. For metal cuffs, standard handcuff keys are universal and inexpensive—buy several. As backup, metal cuffs can be cut with bolt cutters.
How long is safe to wear cuffs?
Check circulation every few minutes. Well-fitted padded cuffs can be worn longer than metal ones. Remove immediately if you notice any numbness, tingling, or color change.
🛒 Recommended Gear
Note: Links below are affiliate links. We may earn a commission at no extra cost to you.
Discover What You Both Desire
Create your personal checklist and compare with your partner to find activities you'll both enjoy exploring together.
Get Started FreeNo credit card required