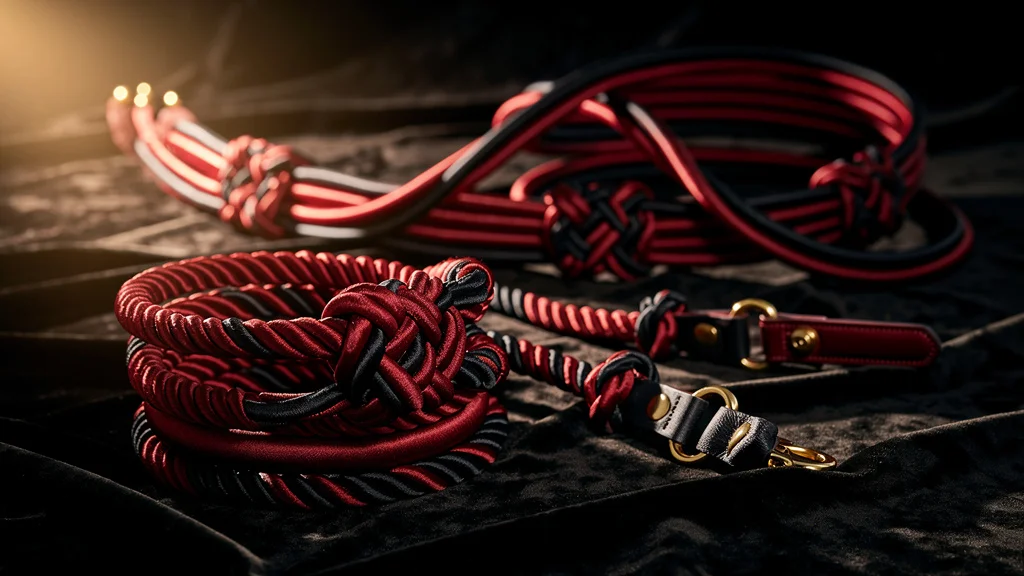
Leather restraints
Strong yet comfortable restraints made from leather. Short Explanation: "Receiving" means you are restrained by leather restraints, while "Giving" means you use them to secure your partner.
Read the full Yes/No/Maybe list guide or browse all activities.
Interested in exploring Leather restraints with your partner?
Start Your ChecklistLeather restraints represent the intersection of form and function in BDSM bondage equipment. Combining the aesthetic appeal and durability of leather with practical restraint capabilities, these versatile tools serve everyone from curious beginners to experienced practitioners. Quality leather cuffs, collars, and restraint systems offer comfort, reliability, and an unmistakable presence that other materials cannot match.
Unlike rope bondage, which requires specific skills, leather restraints offer accessibility—buckle on and go. They distribute pressure across wider surfaces than narrow bindings, reducing circulation risks during extended wear. The combination of padded comfort and unyielding structure makes leather restraints popular for both quick scenes and elaborate bondage configurations.
This guide covers the world of leather restraints, from understanding different types and quality indicators to proper use techniques, safety considerations, and maintenance. Whether you are purchasing your first set of cuffs or building a comprehensive restraint collection, knowing what to look for and how to use these tools safely ensures the best possible experience.
How Leather Restraints Work
Leather restraints function by encircling body parts—typically wrists, ankles, thighs, or neck—and buckling or locking into place. D-rings or O-rings attached to the restraints allow connection to each other, to fixed points, or to connectors like chains or rope. The restraint limits movement while the leather distributes pressure comfortably.
Techniques and Variations
Wrist Cuffs: The most common leather restraint, wrist cuffs encircle the wrist with buckle or lockable closure. They typically feature padding for comfort and one or more attachment points.
Ankle Cuffs: Similar to wrist cuffs but sized for ankles. Often used in conjunction with spreader bars or for attachment to bed frames or furniture.
Thigh Cuffs: Larger restraints that encircle the thigh. Useful for creating compact bondage positions when connected to wrist cuffs.
Collar and Cuff Sets: Matching sets that connect collar to wrist cuffs, often used for positions that keep hands near the face or neck.
Full Body Harnesses: Elaborate leather restraint systems that encircle torso and limbs with multiple connection points for versatile positioning.
Locking vs. Buckle: Some restraints use standard buckles; others accommodate small padlocks for inescapable restraint. Locking restraints add psychological intensity and require key availability for safety.
Equipment and Tools
Cuff Sets: Matched sets of four cuffs (two wrist, two ankle) are common starter packages. Quality sets include connecting chains or straps.
Connectors: Carabiners, double-ended clips, chains, and straps connect restraints to each other or to anchor points.
Anchor Points: Under-bed restraint systems, wall-mounted rings, or portable bondage furniture provide attachment points for restraints.
Locks and Keys: Small padlocks for lockable restraints. Always have backup keys accessible and never lock restraints without the ability to unlock quickly in emergency.
Padding Options: Some restraints feature removable or replaceable padding. Extra padding may be available for extended wear comfort.
Safety Considerations
Leather restraints are generally safer than many bondage methods but still require attention to safety fundamentals.
Physical Safety
Circulation Checks: Even well-designed restraints can impair circulation if too tight. Check fingers and toes for color, temperature, and sensation regularly. Numbness, tingling, or color change requires immediate loosening.
Proper Fit: Restraints should be snug enough not to slip off but loose enough to slide a finger underneath. Wrist restraints should sit on the forearm just above the wrist bones, not on the wrist joint itself.
Weight Distribution: If using restraints for suspension-adjacent play (like standing spread-eagle), ensure weight does not hang entirely from restraints. This can cause nerve damage even with padded leather.
Quick Release: Have a method to quickly remove all restraints. For buckle closures, practice one-handed release. For locks, keep keys immediately accessible and have backup cutting tools for emergency situations.
Hardware Inspection: Regularly check buckles, rivets, and D-rings for wear. Failed hardware during use can cause injury and compromises the scene.
Emotional Safety
Helplessness Processing: Being restrained creates genuine vulnerability. Ensure the restrained partner feels safe and that clear communication methods (safewords or signals) remain available.
Panic Responses: Some people experience unexpected panic when restrained. Have a plan for immediate release if this occurs and provide reassurance and aftercare.
Trust Requirements: Restraint requires significant trust. Build gradually—start with light restraint before progressing to complete immobilization.
Red Flags
Avoid using restraints with partners who refuse to establish safewords, will not agree to immediate release on request, dismiss concerns about tightness or discomfort, or have not established adequate trust for this level of vulnerability.
Beginners Guide
Starting with leather restraints is relatively straightforward, but thoughtful approach ensures safe and enjoyable experiences.
Step 1: Choose Quality Over Quantity
A single pair of well-made leather cuffs serves better than a cheap set of four. Look for thick leather (at least 2-3mm), secure stitching, sturdy hardware, and adequate padding.
Step 2: Try Them On First
Before using in a scene, wear the restraints to assess fit and comfort. Note how they feel after ten or fifteen minutes. Adjust sizing if possible.
Step 3: Start Simply
Your first restrained scenes might use just one pair of wrist cuffs connected together in front of the body. This limits movement while maintaining relative freedom and low risk.
Step 4: Establish Clear Communication
Agree on safewords and signals. When restrained, the bound person might not be able to use hands for communication—establish verbal and nonverbal methods.
Step 5: Keep Sessions Short Initially
Start with brief restraint periods (10-15 minutes) while you both learn. Increase duration gradually as you understand how your bodies respond.
Step 6: Build Your Collection Thoughtfully
Add pieces based on actual interest rather than collecting for collection sake. A matching ankle set might be your next purchase, or connectors that enable new positions.
Discussing with Your Partner
Introducing leather restraints requires clear communication about desires, boundaries, and practicalities.
Express what appeals to you about restraints: Is it the helplessness? The aesthetic? The power exchange? Understanding motivations helps partners engage meaningfully rather than simply going through motions.
For the partner considering being restrained: consider what level of immobilization feels exciting versus scary, whether locking restraints appeal or cause anxiety, and what positions seem interesting. Share these reflections openly.
For the restraining partner: understand the responsibility you hold. A restrained person depends on you entirely. Discuss how you will monitor their wellbeing and respond to distress.
Practical conversations matter too: where will you attach restraints? Do you need furniture or mounting points? What is the budget? Who maintains and stores the equipment?
Frequently Asked Questions
What is the difference between cheap and expensive leather restraints?
Quality differences include leather thickness and type (genuine vs. bonded), padding quality, hardware strength, stitching durability, and overall construction. Cheap restraints may use thin leather that stretches, weak hardware that bends or breaks, and poor stitching that fails under stress.
Should I get locking or buckle restraints?
Buckle restraints offer quick release and simplicity. Locking restraints add psychological intensity but require key management. Many people start with buckle versions and add locking options later if the increased intensity appeals.
How do I clean leather restraints?
Wipe down with a damp cloth after use to remove sweat and body oils. Allow to dry completely before storing. Periodically condition the leather with appropriate leather conditioner. For restraints that contact genitals, more thorough cleaning with leather-safe antibacterial products is advisable.
Can leather restraints be used for suspension?
Most leather wrist and ankle cuffs are NOT rated for suspension. Suspension requires specifically designed suspension cuffs with reinforced attachment points and wider weight distribution. Never suspend from standard leather cuffs.
How tight should leather restraints be?
You should be able to fit one or two fingers between the restraint and skin. The restraint should not slip off but should never be tight enough to impede circulation. When in doubt, err on the looser side—a restraint that might slip is better than one causing nerve damage.
🛒 Recommended Gear
Note: Links below are affiliate links. We may earn a commission at no extra cost to you.
Discover What You Both Desire
Create your personal checklist and compare with your partner to find activities you'll both enjoy exploring together.
Get Started FreeNo credit card required